
why is my water heater blinking red
Causes, solutions and when to call a professional
Expert Answer
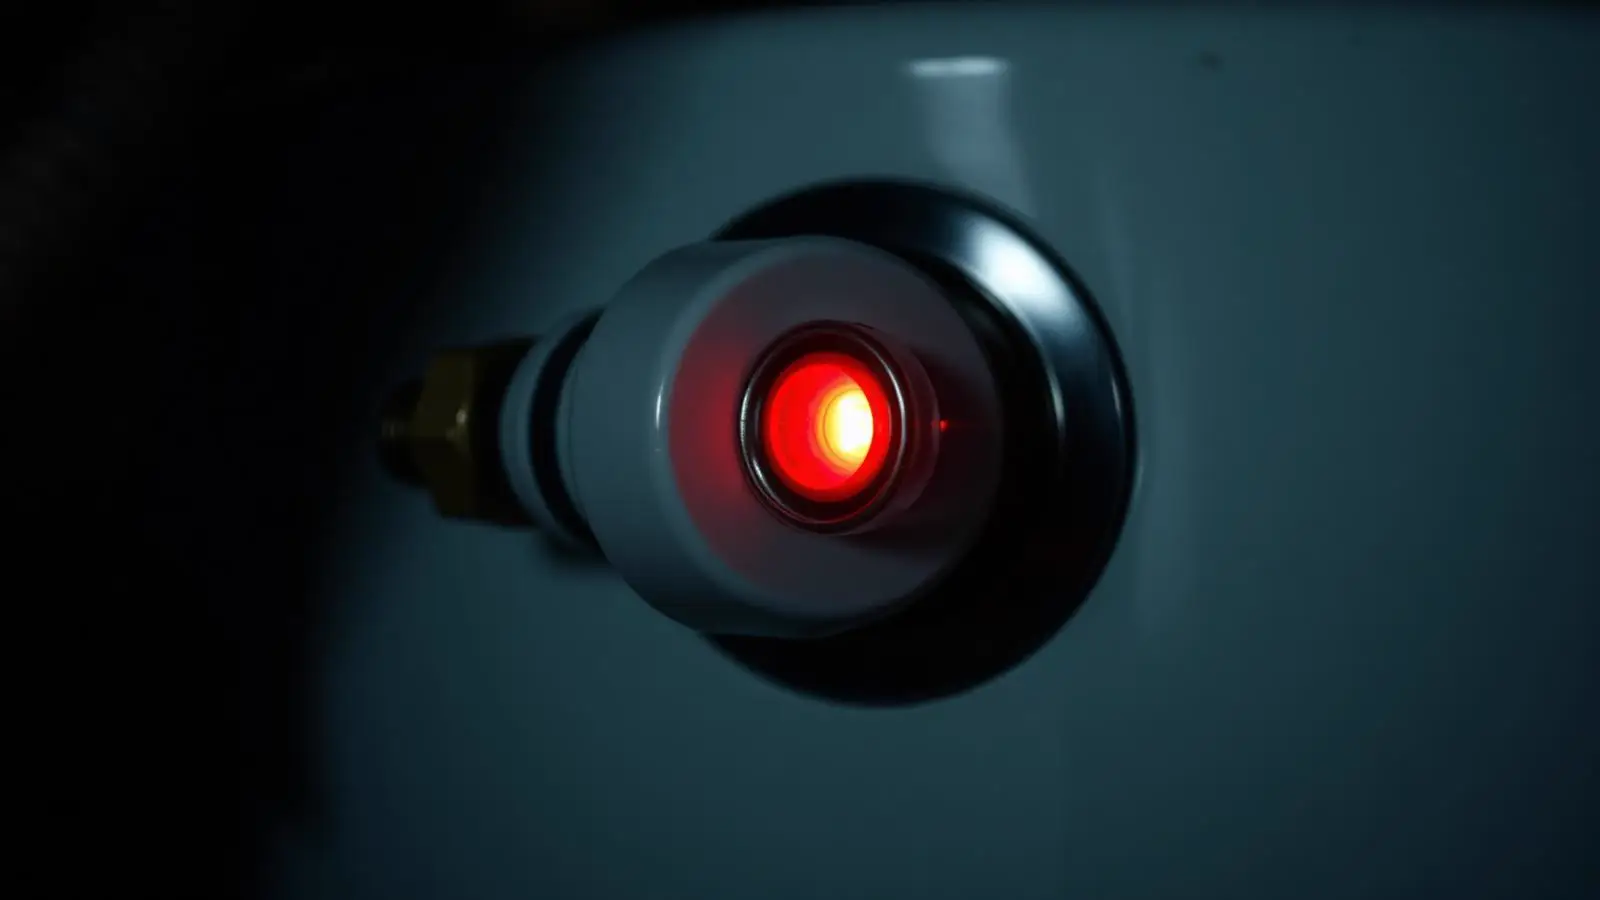
A red blinking LED on a gas water heater's control valve is a diagnostic code, not a decoration. Count the flashes between pauses and match them to the manufacturer's chart — most point to a blocked air intake, weak thermopile signal, or an FVIR flame-sensor lockout.
How Serious Is This?
Usually Manageable
Monitor it and run the safe checks below before spending money.
Inspection Recommended
Have a professional look at it soon to prevent damage or failure.
This is the level for this problem: Repair soon.
Potentially Serious
Stop using the appliance and get professional help right away.
Safety warning
If you smell gas along with the blinking light, do not flip switches or light matches. Leave the area, shut off the gas supply at the exterior meter valve if it is safe to reach, and call your gas utility or 911 from outside the home.
Most Likely Causes
- 1Blocked or dirty air intake screen (FVIR system)
- 2Weak thermopile signal
- 3FVIR flame-sensor lockout after a failed ignition attempt
- 4Failing gas control valve electronics
Safe Homeowner Checks
With the gas control set to OFF and the unit cooled, remove the outer jacket access panel and inspect the intake screen with a flashlight for visible lint or dust.
Takes: 6 min · Tools: Flashlight, Phillips screwdriver
With the gas control set to OFF and the unit cooled, remove the outer jacket access panel and inspect the intake screen with a flashlight for visible lint or dust.
Expect: Screen mesh should be clean enough to see light through evenly.
What it means: A gray, matted screen confirms restricted combustion air is triggering the fault.
Next step: Vacuum the screen gently with a soft brush attachment, replace the panel, and follow the manufacturer's relight sequence.
Never remove or bypass the FVIR screen entirely — it prevents ignition of flammable vapors from nearby solvents or fuels.
With the gas control on PILOT, hold the igniter button, light the pilot, and use a multimeter set to millivolts DC to probe the thermopile leads at the valve if accessible.
Takes: 8 min · Tools: Multimeter
With the gas control on PILOT, hold the igniter button, light the pilot, and use a multimeter set to millivolts DC to probe the thermopile leads at the valve if accessible.
Expect: A healthy thermopile reads 400–750 mV while the pilot burns steadily.
What it means: Readings below 300 mV mean the thermopile is too weak to hold the valve open reliably.
Next step: Clean the pilot assembly of soot with a soft brush; if voltage stays low after cleaning, replace the thermopile.
Check the manufacturer's sticker on the tank for the exact blink-code chart and compare it to your observed pattern before attempting a reset.
Takes: 3 min · Tools: Phone camera or notepad to record the pattern
Check the manufacturer's sticker on the tank for the exact blink-code chart and compare it to your observed pattern before attempting a reset.
Expect: The pattern matches a documented 'lockout' or 'retry' code on the chart.
What it means: A confirmed lockout code means the valve needs a manual reset sequence, not a repair.
Next step: Follow the printed relight instructions exactly, including the full wait time for gas to clear before re-ignition.
If you smell gas at any point during relighting, stop immediately and ventilate the area before trying again.
With intake and thermopile already confirmed good, cycle the gas control's power by switching to PILOT and back to ON/RUN, watching whether the blink pattern changes or resets.
Takes: 5 min · Tools: None
With intake and thermopile already confirmed good, cycle the gas control's power by switching to PILOT and back to ON/RUN, watching whether the blink pattern changes or resets.
Expect: A healthy valve returns to a normal or no-blink status once the burner fires.
What it means: A pattern that persists or changes randomly after cycling points to failing valve electronics.
Next step: Schedule a gas appliance technician to test and likely replace the combination gas control valve.
Since the mid-2000s, nearly all residential gas water heaters use Flammable Vapor Ignition Resistant (FVIR) systems with a status LED on the gas control valve. That LED blinks in a repeating pattern — for example, one flash, pause, one flash — and each pattern is a manufacturer-specific diagnostic code covering everything from a dirty flame sensor to a full lockout. Matching the exact pattern to your model's manual, printed on a sticker on the tank jacket, is the fastest path to a fix.
Every likely cause, ranked
- #1
Blocked or dirty air intake screen (FVIR system)
Most common causeFVIR gas valves have a fine mesh screen over the combustion air inlet designed to prevent flammable vapors from reaching the burner. Dust, lint, pet hair, and construction debris clog that screen over time, starving the burner of air and triggering a fault blink pattern even though the tank is otherwise fine.
It is the single most common blink-code cause on residential units in basements, garages, and laundry rooms where airborne lint and dust concentrate near the floor.
Exact symptoms
- Blink pattern matches the manufacturer's 'restricted air supply' or 'sensor' code
- Visible dust buildup around the base grille or intake screen
- Pilot lights but burner flame is weak, yellow, or lifts off the burner ports
Self-test (6 min) — tools: Flashlight, Phillips screwdriver
With the gas control set to OFF and the unit cooled, remove the outer jacket access panel and inspect the intake screen with a flashlight for visible lint or dust.
Expect: Screen mesh should be clean enough to see light through evenly.
What it means: A gray, matted screen confirms restricted combustion air is triggering the fault.
Next step: Vacuum the screen gently with a soft brush attachment, replace the panel, and follow the manufacturer's relight sequence.
Never remove or bypass the FVIR screen entirely — it prevents ignition of flammable vapors from nearby solvents or fuels.
DIY-eligible · DIY $0 with a household vacuum · Pro $90–$150 for a full combustion-air inspection · 20 minutes
- #2
Weak thermopile signal
The thermopile is a stack of thermocouples that generates roughly 300–750 millivolts from the pilot flame's heat to power the gas control valve's electronics, including the LED. Soot buildup, a misaligned pilot flame, or a degraded thermopile produces a marginal voltage that the control reads as a fault.
It commonly develops gradually over 6–10 years as the thermopile's junctions degrade, and often the pilot still lights but cannot sustain a strong enough signal to satisfy the control board.
Exact symptoms
- Pilot lights but goes out within seconds to a minute of releasing the igniter button
- Blink pattern matches the manufacturer's 'thermopile' or 'weak signal' code
- Flame at the pilot appears small, blue, and steady rather than absent
Self-test (8 min) — tools: Multimeter
With the gas control on PILOT, hold the igniter button, light the pilot, and use a multimeter set to millivolts DC to probe the thermopile leads at the valve if accessible.
Expect: A healthy thermopile reads 400–750 mV while the pilot burns steadily.
What it means: Readings below 300 mV mean the thermopile is too weak to hold the valve open reliably.
Next step: Clean the pilot assembly of soot with a soft brush; if voltage stays low after cleaning, replace the thermopile.
Professional repair · DIY $0 to test · Pro $120–$250 for thermopile replacement · 45–60 minutes
- #3
FVIR flame-sensor lockout after a failed ignition attempt
If the pilot fails to establish or the flame sensor doesn't detect it within the control's timed window, the FVIR system locks out ignition entirely as a safety measure and blinks a distinct lockout code until manually reset.
It appears after any interrupted lighting attempt — a draft blowing out the match, releasing the igniter button too early, or a genuinely faulty igniter — and is designed to require a deliberate reset rather than clear itself.
Exact symptoms
- No hot water at all, pilot will not stay lit or will not light
- Blink pattern matches the manufacturer's specific 'lockout' code
- Control valve requires holding a reset button or switching modes to clear
Self-test (3 min) — tools: Phone camera or notepad to record the pattern
Check the manufacturer's sticker on the tank for the exact blink-code chart and compare it to your observed pattern before attempting a reset.
Expect: The pattern matches a documented 'lockout' or 'retry' code on the chart.
What it means: A confirmed lockout code means the valve needs a manual reset sequence, not a repair.
Next step: Follow the printed relight instructions exactly, including the full wait time for gas to clear before re-ignition.
If you smell gas at any point during relighting, stop immediately and ventilate the area before trying again.
DIY-eligible · DIY $0 · Pro $90–$150 if repeated lockouts require a valve inspection · 10–15 minutes
- #4
Failing gas control valve electronics
The gas control valve houses a small circuit board that reads the thermopile, thermostat, and flame sensor and drives the LED. Age, moisture intrusion, or a manufacturing defect can degrade that board so it blinks an erratic or undocumented pattern even with good thermopile voltage and a clean intake.
It's less common but the default explanation once air intake, thermopile voltage, and lockout resets have all been ruled out, especially on valves over 10 years old.
Exact symptoms
- Blink pattern is inconsistent or doesn't match any code in the manual
- Pilot lights and holds fine, thermopile voltage tests normal, but burner still won't fire on demand
- Problem persists after cleaning the intake screen and resetting the lockout
Self-test (5 min) — tools: None
With intake and thermopile already confirmed good, cycle the gas control's power by switching to PILOT and back to ON/RUN, watching whether the blink pattern changes or resets.
Expect: A healthy valve returns to a normal or no-blink status once the burner fires.
What it means: A pattern that persists or changes randomly after cycling points to failing valve electronics.
Next step: Schedule a gas appliance technician to test and likely replace the combination gas control valve.
Professional repair · DIY $0 to test · Pro $300–$550 including the valve and labor · 1–2 hours
Symptom-to-cause table
Match what you can see, hear or smell to the cause it points at, and the safe next step for that reading.
Blink pattern matches the manufacturer's 'restricted air supply' or 'sensor' code
Likely cause: Blocked or dirty air intake screen (FVIR system)
Who should handle it: Homeowner, then gas appliance technician
Next step: Vacuum the screen gently with a soft brush attachment, replace the panel, and follow the manufacturer's relight sequence.
Pilot lights but goes out within seconds to a minute of releasing the igniter button
Likely cause: Weak thermopile signal
Who should handle it: gas appliance technician
Next step: Clean the pilot assembly of soot with a soft brush; if voltage stays low after cleaning, replace the thermopile.
No hot water at all, pilot will not stay lit or will not light
Likely cause: FVIR flame-sensor lockout after a failed ignition attempt
Who should handle it: Homeowner, then gas appliance technician
Next step: Follow the printed relight instructions exactly, including the full wait time for gas to clear before re-ignition.
Blink pattern is inconsistent or doesn't match any code in the manual
Likely cause: Failing gas control valve electronics
Who should handle it: gas appliance technician
Next step: Schedule a gas appliance technician to test and likely replace the combination gas control valve.
Ten-minute homeowner checklist
- With the gas control set to OFF and the unit cooled, remove the outer jacket access panel and inspect the intake screen with a flashlight for visible lint or dust. (6 min · Flashlight, Phillips screwdriver)Never remove or bypass the FVIR screen entirely — it prevents ignition of flammable vapors from nearby solvents or fuels.
- With the gas control on PILOT, hold the igniter button, light the pilot, and use a multimeter set to millivolts DC to probe the thermopile leads at the valve if accessible. (8 min · Multimeter)
- Check the manufacturer's sticker on the tank for the exact blink-code chart and compare it to your observed pattern before attempting a reset. (3 min · Phone camera or notepad to record the pattern)If you smell gas at any point during relighting, stop immediately and ventilate the area before trying again.
- With intake and thermopile already confirmed good, cycle the gas control's power by switching to PILOT and back to ON/RUN, watching whether the blink pattern changes or resets. (5 min · None)
Never open an electrical panel, relight a burner you can smell gas near, or drain a tank that is scalding hot. Stop and call a gas appliance technician instead.
What this costs to fix
| Cause | DIY cost | Professional cost | Typical time | Who should repair |
|---|---|---|---|---|
| Blocked or dirty air intake screen | $0 | $90–$150 | 20 minutes | Homeowner or gas appliance technician |
| Weak thermopile signal | $0 to test | $120–$250 | 45–60 minutes | Gas appliance technician |
| FVIR flame-sensor lockout | $0 | $90–$150 | 10–15 minutes | Homeowner or gas appliance technician |
| Failing gas control valve electronics | $0 to test | $300–$550 | 1–2 hours | Gas appliance technician |
Blocked or dirty air intake screen
DIY cost: $0
Professional cost: $90–$150
Typical time: 20 minutes
Who should repair: Homeowner or gas appliance technician
Weak thermopile signal
DIY cost: $0 to test
Professional cost: $120–$250
Typical time: 45–60 minutes
Who should repair: Gas appliance technician
FVIR flame-sensor lockout
DIY cost: $0
Professional cost: $90–$150
Typical time: 10–15 minutes
Who should repair: Homeowner or gas appliance technician
Failing gas control valve electronics
DIY cost: $0 to test
Professional cost: $300–$550
Typical time: 1–2 hours
Who should repair: Gas appliance technician
Possible solutions you can do safely
- Vacuum the FVIR intake screen every 6–12 months, especially in dusty basements or garages.
- Match your exact blink pattern to the sticker chart on the tank before assuming the worst.
- Follow the printed relight sequence fully, including gas-clearing wait times, to clear a lockout code.
- Keep solvents, gasoline, and aerosol cans away from the water heater's air intake area.
Fixes that usually waste money
- Replacing the entire water heater for a blink code caused by a dusty intake screen.
- Repeatedly resetting a lockout without checking the intake or thermopile, which just repeats the same failure.
- Swapping the thermocouple/thermopile speculatively without a millivolt test confirming it's weak.
When to Call a Professional
- The blink pattern doesn't match any code in the manufacturer's manual.
- The pilot won't stay lit after cleaning the intake and confirming good thermopile voltage.
- You smell gas at any point during inspection or relighting.
- The unit locks out repeatedly within the same day despite a clean intake and successful pilot light.
Related Home Problems
These water heater symptoms often show up with the one on this page.
why is my water heater not heating
Points at the same part of the system — both problems involve the pilot.
No Hot Water & Temperature Repair soon
why is my water heater not turning on
Points at the same part of the system — both problems involve the igniter.
Electric Water Heater Problems Repair soon
why is my water heater hissing
Points at the same part of the system — both problems involve the control.
Noises Dangerous — act now
why is my water heater not working
Points at the same part of the system — both problems involve the reset.
No Hot Water & Temperature Repair soon
why is my water heater making a humming noise
Points at the same part of the system — both problems involve the valve.
Noises Usually safe to investigate
Still not sure what you are hearing or seeing? Browse the gas, pilot light & combustion guides or the full water heater guide index with repair-cost ranges.
Frequently Asked Questions
What does a red blinking light on my water heater mean?
It's a diagnostic blink code from the gas control valve's FVIR system. Count the flashes and the pause between groups, then check the code chart printed on a sticker on the tank jacket — patterns vary by manufacturer.
How do I count a water heater blink code?
Watch for a repeating cycle: a group of flashes, a pause, then the same group repeats. The number of flashes in the group is the code number, which you match to the chart on the tank or in the owner's manual.
Can I reset a blinking red light myself?
Yes, for a simple lockout code — most manufacturers specify holding a reset button or switching the control to PILOT and back to ON. Clean the air intake first, since a blocked screen causes the same lockout repeatedly.
Is a blinking red light on a gas water heater dangerous?
The light itself isn't dangerous — it's a safety feature working correctly. It becomes a safety issue only if paired with a gas odor, in which case shut off gas at the meter and call your utility rather than continuing to troubleshoot.
Sources
- National Fuel Gas Code (NFPA 54) — Combustion Air and Ignition System Requirements for Gas Appliances
- American National Standards Institute / CSA — ANSI Z21.10.1 — Gas Water Heater Safety Controls
Published 2026-08-10 · Last reviewed 2026-08-10 · Reviewed by Why Is My Water Heater? editorial team · How we research