
why is my water heater leaking from the pressure valve
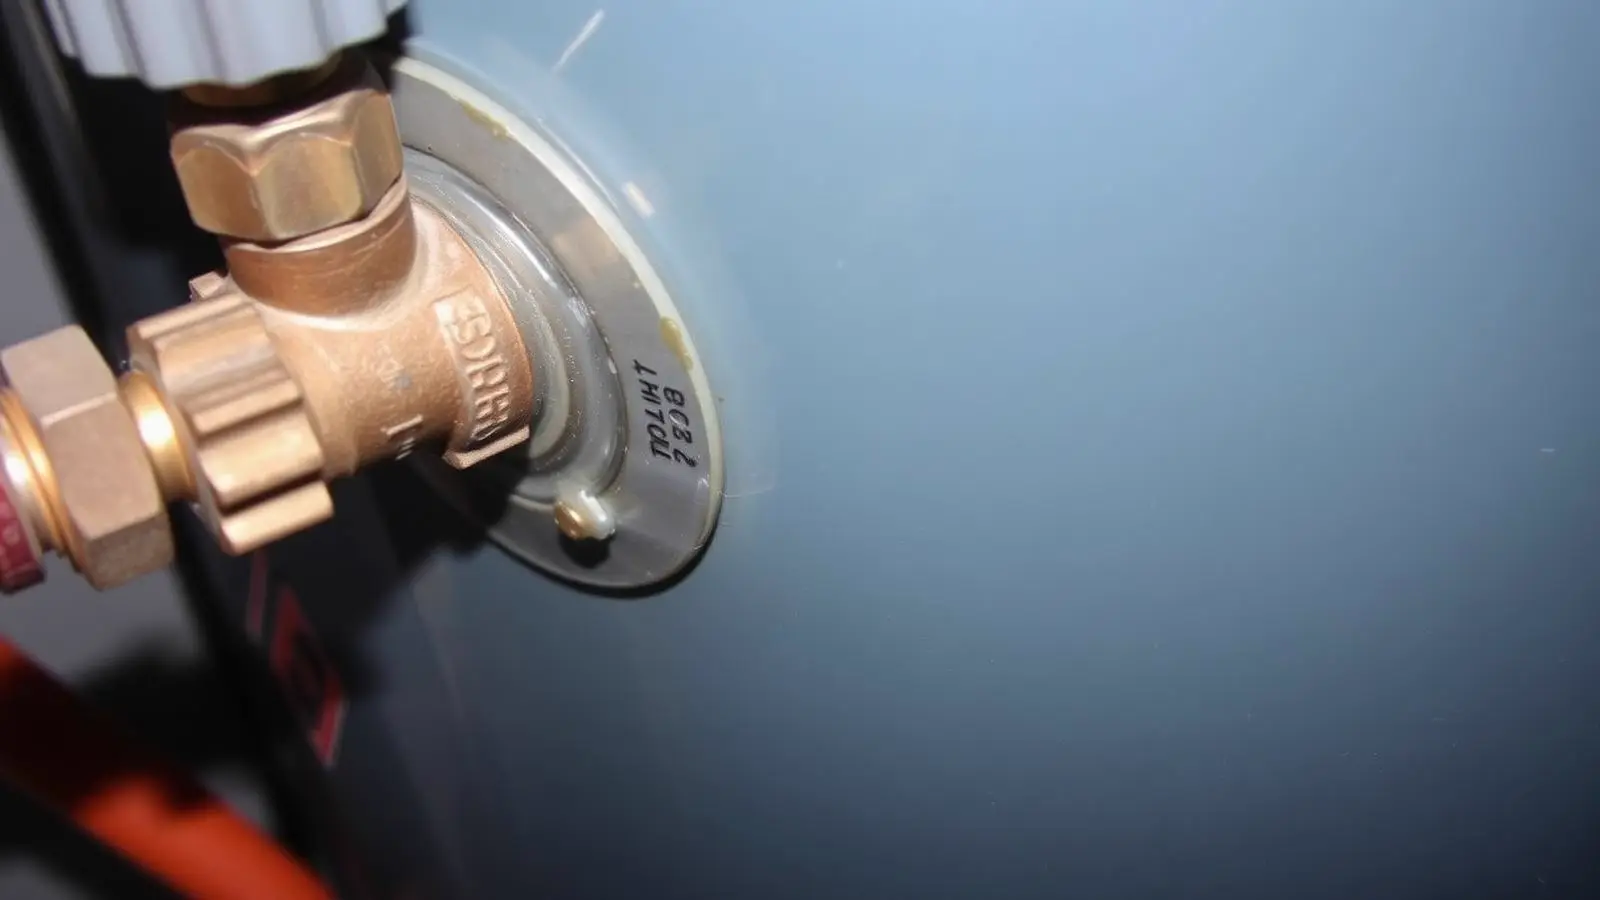
Causes, solutions and when to call a professional
Expert Answer
Water 'from the pressure valve' can actually come from three places: the valve body itself, a loose discharge-pipe fitting below it, or the tank threads the valve screws into. Dry each point separately to find the true source before replacing anything.
How Serious Is This?
Usually Manageable
Monitor it and run the safe checks below before spending money.
Inspection Recommended
Have a professional look at it soon to prevent damage or failure.
This is the level for this problem: Repair soon.
Potentially Serious
Stop using the appliance and get professional help right away.
Safety warning
Do not cap, plug or add a shutoff to the discharge pipe to stop a leak, even if the leak turns out to be in the pipe rather than the valve. The pipe must remain a fully open path for the valve to protect the tank.
Most Likely Causes
- 1Leak at the discharge pipe threaded joint, not the valve
- 2Leak at the tank-to-valve threads
- 3The valve body itself is discharging (pressure or temperature driven)
Safe Homeowner Checks
Dry the entire assembly, wrap toilet paper around the threaded joint just below the valve, and run a hot tap for two minutes.
Takes: 6 min · Tools: Towel, Toilet paper, Flashlight
Dry the entire assembly, wrap toilet paper around the threaded joint just below the valve, and run a hot tap for two minutes.
Expect: Paper at the joint stays dry if the joint is sound.
What it means: Wet paper at the joint (with a dry valve body) means the pipe thread seal has failed, not the valve.
Next step: Disconnect, re-thread with fresh PTFE tape or pipe dope, and hand-tighten plus a quarter turn with a wrench.
Dry the top of the valve where it enters the tank, wrap toilet paper around that junction only, and check after 10 minutes of normal standby (no hot water use).
Takes: 10 min · Tools: Towel, Toilet paper
Dry the top of the valve where it enters the tank, wrap toilet paper around that junction only, and check after 10 minutes of normal standby (no hot water use).
Expect: No moisture at the tank tapping.
What it means: Wetness right at the tank threads, even with a known-good valve, means the tapping seal needs to be redone.
Next step: Drain the tank below the tapping, remove the valve, clean threads, reapply sealant rated for potable hot water, and reinstall.
Draining a tank involves near-boiling water at the bottom drain; wear gloves and direct the hose to a safe drain.
Check static pressure with a hose-bib gauge, then re-check right after a heating cycle.
Takes: 8 min · Tools: Water-pressure gauge
Check static pressure with a hose-bib gauge, then re-check right after a heating cycle.
Expect: 40–80 psi static, under 10 psi rise after heating.
What it means: High readings point to a system pressure problem; normal readings with continued discharge point to a worn valve.
Next step: Install an expansion tank/PRV if pressure is high, or replace the valve if pressure is normal.
'Leaking from the pressure valve' is often a location, not a diagnosis — water can be tracking down from three distinct points that all end up at the same discharge pipe outlet. Isolating which one is actually wet changes the fix from a $20 part to a full pipe-thread rework.
Every likely cause, ranked
- #1
Leak at the discharge pipe threaded joint, not the valve
Most common causeThe discharge pipe threads into the bottom of the valve with pipe-thread sealant. That joint can loosen from vibration or thermal cycling even when the valve itself is functioning perfectly.
It's frequently mistaken for a valve failure because the water still exits at the bottom of the same pipe, but the actual wet point is higher up at the threaded connection.
Exact symptoms
- Wetness visible at the joint just below the valve body, not at the outlet tip
- Valve stays completely dry when tested with the lever
- Joint was recently disturbed (new pipe, recent plumbing work nearby)
Self-test (6 min) — tools: Towel, Toilet paper, Flashlight
Dry the entire assembly, wrap toilet paper around the threaded joint just below the valve, and run a hot tap for two minutes.
Expect: Paper at the joint stays dry if the joint is sound.
What it means: Wet paper at the joint (with a dry valve body) means the pipe thread seal has failed, not the valve.
Next step: Disconnect, re-thread with fresh PTFE tape or pipe dope, and hand-tighten plus a quarter turn with a wrench.
DIY-eligible · DIY $5 for thread sealant · Pro $120–$200 · 30 minutes
- #2
Leak at the tank-to-valve threads
The valve itself threads directly into a tapping on the tank. If it wasn't installed with adequate sealant, or the tank tapping is corroded, water can weep out around those threads above the valve body.
More common on heaters where the valve was replaced without a fresh application of sealant, or on older tanks with a corroded tapping.
Exact symptoms
- Moisture appears at the very top of the valve where it meets the tank
- Corrosion or mineral crust visible around the tank tapping
- Persists even after the valve has been fully replaced
Self-test (10 min) — tools: Towel, Toilet paper
Dry the top of the valve where it enters the tank, wrap toilet paper around that junction only, and check after 10 minutes of normal standby (no hot water use).
Expect: No moisture at the tank tapping.
What it means: Wetness right at the tank threads, even with a known-good valve, means the tapping seal needs to be redone.
Next step: Drain the tank below the tapping, remove the valve, clean threads, reapply sealant rated for potable hot water, and reinstall.
Draining a tank involves near-boiling water at the bottom drain; wear gloves and direct the hose to a safe drain.
Professional repair · DIY Not recommended DIY · Pro $180–$300 · 1–1.5 hours
- #3
The valve body itself is discharging (pressure or temperature driven)
Once the two joint locations are ruled out, water exiting from the valve's own outlet means it's doing what it's designed to do in response to excess pressure or heat, or the internal seat has worn out.
The default explanation once both threaded connections test bone-dry.
Exact symptoms
- Water clearly originates at the valve's side discharge port, not a joint
- Correlates with heating cycles or reads high on a pressure gauge
- No visible corrosion at either threaded connection
Self-test (8 min) — tools: Water-pressure gauge
Check static pressure with a hose-bib gauge, then re-check right after a heating cycle.
Expect: 40–80 psi static, under 10 psi rise after heating.
What it means: High readings point to a system pressure problem; normal readings with continued discharge point to a worn valve.
Next step: Install an expansion tank/PRV if pressure is high, or replace the valve if pressure is normal.
Professional repair · DIY $15 gauge · Pro $150–$450 · 1–2 hours
Symptom-to-cause table
Match what you can see, hear or smell to the cause it points at, and the safe next step for that reading.
Wetness visible at the joint just below the valve body, not at the outlet tip
Likely cause: Leak at the discharge pipe threaded joint, not the valve
Who should handle it: Homeowner, then licensed plumber
Next step: Disconnect, re-thread with fresh PTFE tape or pipe dope, and hand-tighten plus a quarter turn with a wrench.
Moisture appears at the very top of the valve where it meets the tank
Likely cause: Leak at the tank-to-valve threads
Who should handle it: licensed plumber
Next step: Drain the tank below the tapping, remove the valve, clean threads, reapply sealant rated for potable hot water, and reinstall.
Water clearly originates at the valve's side discharge port, not a joint
Likely cause: The valve body itself is discharging (pressure or temperature driven)
Who should handle it: licensed plumber
Next step: Install an expansion tank/PRV if pressure is high, or replace the valve if pressure is normal.
Ten-minute homeowner checklist
- Dry the entire assembly, wrap toilet paper around the threaded joint just below the valve, and run a hot tap for two minutes. (6 min · Towel, Toilet paper, Flashlight)
- Dry the top of the valve where it enters the tank, wrap toilet paper around that junction only, and check after 10 minutes of normal standby (no hot water use). (10 min · Towel, Toilet paper)Draining a tank involves near-boiling water at the bottom drain; wear gloves and direct the hose to a safe drain.
- Check static pressure with a hose-bib gauge, then re-check right after a heating cycle. (8 min · Water-pressure gauge)
Never open an electrical panel, relight a burner you can smell gas near, or drain a tank that is scalding hot. Stop and call a licensed plumber instead.
What this costs to fix
| Cause | DIY cost | Professional cost | Typical time | Who should repair |
|---|---|---|---|---|
| Discharge pipe thread joint | $5 | $120–$200 | 30 minutes | Homeowner or licensed plumber |
| Tank-to-valve threads | Not recommended DIY | $180–$300 | 1–1.5 hours | Licensed plumber |
| Valve body discharging (pressure/temperature) | $15 gauge | $150–$450 | 1–2 hours | Licensed plumber |
Discharge pipe thread joint
DIY cost: $5
Professional cost: $120–$200
Typical time: 30 minutes
Who should repair: Homeowner or licensed plumber
Tank-to-valve threads
DIY cost: Not recommended DIY
Professional cost: $180–$300
Typical time: 1–1.5 hours
Who should repair: Licensed plumber
Valve body discharging (pressure/temperature)
DIY cost: $15 gauge
Professional cost: $150–$450
Typical time: 1–2 hours
Who should repair: Licensed plumber
Possible solutions you can do safely
- Dry and isolate each joint (pipe-to-valve, valve-to-tank, valve body) with toilet-paper testing before buying parts.
- Re-tape and re-tighten a leaking discharge-pipe thread joint yourself.
- Check pressure with a $15 gauge before assuming the valve needs replacement.
Fixes that usually waste money
- Replacing the whole valve when the leak is actually at the pipe joint beneath it.
- Applying pipe dope or tape to a leak coming from the tank tapping — that seal requires disassembly, not surface sealant.
- Using standard plumber's tape on a joint rated for hot potable water pressure without a proper thread sealant.
When to Call a Professional
- The leak is at the tank tapping itself, not a downstream joint.
- You've isolated the source but it requires draining the tank to access.
- Pressure tests above 80 psi.
- Any doubt about which of the three points is actually leaking.
Related Home Problems
These water heater symptoms often show up with the one on this page.
why is my water heater pressure relief valve leaking
Points at the same part of the system — both problems involve the high.
Leaks & Water Pressure Repair soon
why is my water heater relief valve leaking
Points at the same part of the system — both problems involve the mineral.
Leaks & Water Pressure Repair soon
why is my water heater leaking from the drain valve
Points at the same part of the system — both problems involve the after.
Leaks & Water Pressure Usually safe to investigate
why is my water heater leaking from the overflow pipe
Points at the same part of the system — both problems involve the valve.
Leaks & Water Pressure Repair soon
why is my water heater leaking from the top
Points at the same part of the system — both problems involve the port.
Leaks & Water Pressure Repair soon
Still not sure what you are hearing or seeing? Browse the leaks & water pressure guides or the full water heater guide index with repair-cost ranges.
Frequently Asked Questions
How do I tell if it's the valve or the pipe leaking?
Dry everything completely, then wrap a strip of toilet paper around each joint separately — the tank-to-valve threads, the valve-to-pipe threads, and the valve's own outlet. Run hot water and check each strip individually to find the true wet point.
Can I just tighten the pressure valve to stop it leaking?
Only if the leak is confirmed to be at a threaded joint, not the valve body itself. Overtightening the valve where it enters the tank can crack the tank tapping and cause a much larger leak.
Is a leak at the tank threads a sign I need a new water heater?
Not necessarily — the tapping itself can usually be resealed. But if the metal around the tapping is visibly rusted through or crumbling, that's tank-body corrosion and points toward replacement.
What is the discharge pipe supposed to do?
It directs any water the relief valve releases safely down to within 6 inches of the floor or to a drain, away from anyone standing nearby, per plumbing code. It should never be capped, reduced in diameter, or valved off.
Sources
- International Code Council — International Plumbing Code, Section 504 — Relief Valves and Discharge Piping
- ANSI/CSA — ANSI Z21.22 / CSA 4.4 — Relief Valves for Hot Water Supply Systems
Published 2026-08-10 · Last reviewed 2026-08-10 · Reviewed by Why Is My Water Heater? editorial team · How we research