
why is my water heater leaking from the drain valve
Causes, solutions and when to call a professional
Expert Answer
A leaking drain valve is almost always a warped plastic valve body or sediment caught in the seat, frequently appearing right after a tank flush. A brass hose cap stops the drip immediately; a brass ball-valve replacement is the permanent fix, at $20–$35 in parts.
How Serious Is This?
Usually Manageable
Monitor it and run the safe checks below before spending money.
This is the level for this problem: Usually safe to investigate.
Inspection Recommended
Have a professional look at it soon to prevent damage or failure.
Potentially Serious
Stop using the appliance and get professional help right away.
Safety warning
Water at the drain valve can be near tank temperature. Wear gloves and let the valve area cool before working on it if you've just flushed the tank.
Most Likely Causes
- 1Sediment lodged in the seat after flushing
- 2Warped plastic valve body
- 3Loose connection between the valve and the tank
Safe Homeowner Checks
Open the valve fully for 5 seconds to flush out any trapped debris, then close it firmly and watch the spigot for 10 minutes.
Takes: 10 min · Tools: Bucket, Towel
Open the valve fully for 5 seconds to flush out any trapped debris, then close it firmly and watch the spigot for 10 minutes.
Expect: Drip stops after the flush-and-reclose.
What it means: If it stops, sediment was the cause. If it continues, the seat or valve body is physically worn.
Next step: No further repair needed if resolved; otherwise move to a hose-cap stopgap and plan a valve swap.
Dry the valve fully, close it firmly, and visually inspect the plastic body under a flashlight for cracks or discoloration while watching for drips over 10 minutes.
Takes: 10 min · Tools: Flashlight, Towel
Dry the valve fully, close it firmly, and visually inspect the plastic body under a flashlight for cracks or discoloration while watching for drips over 10 minutes.
Expect: No warping, no drip.
What it means: Visible warping plus a persistent drip means the valve body itself needs replacement.
Next step: Cap the valve as an immediate stopgap, then replace with a brass ball valve at the next opportunity.
With the hose cap installed and the valve closed, dry the area where the valve threads into the tank and watch that specific spot for 10 minutes.
Takes: 10 min · Tools: Towel, Flashlight
With the hose cap installed and the valve closed, dry the area where the valve threads into the tank and watch that specific spot for 10 minutes.
Expect: Dry at the tank-to-valve thread junction.
What it means: Wetness there even with the cap on means the threaded connection itself needs to be redone, not just the valve.
Next step: Drain the tank below the valve level and have the connection re-sealed or the valve reinstalled with fresh thread sealant.
This repair requires draining the tank; near-tank-temperature water will be present at the base.
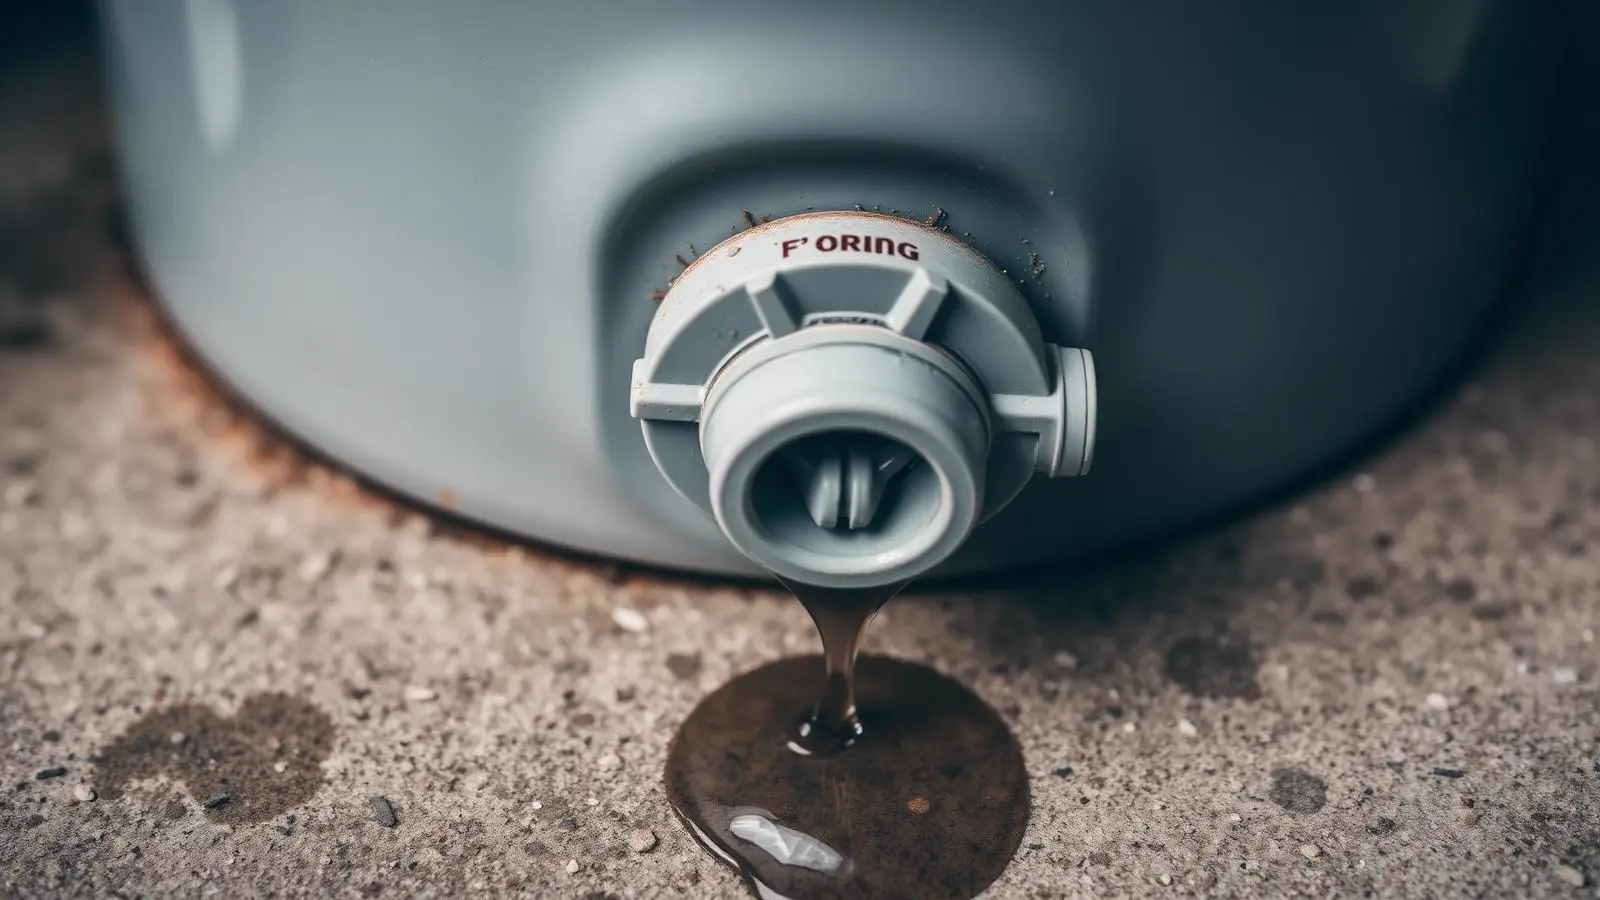
The drain valve sits at the very bottom of the tank and is the cheapest, most failure-prone part on the whole unit. A drip here almost never means the tank is failing — it means the valve itself, usually the stock plastic one, has worn out or has debris in the seat. This is one of the few water-heater leaks a homeowner can safely stop in under 10 minutes.
Every likely cause, ranked
- #1
Sediment lodged in the seat after flushing
Most common causeFlushing stirs up years of accumulated sediment from the tank bottom. As it passes through the valve on its way out, a grain can lodge exactly where the seat needs to close, holding it open a hair.
This is the single most common trigger for a drain valve that starts dripping 'out of nowhere' — it almost always traces back to a recent flush.
Exact symptoms
- Drip started within hours or days of flushing the tank
- Valve was fine for months or years before that
- Water at the drip looks slightly cloudy or gritty at first
Self-test (10 min) — tools: Bucket, Towel
Open the valve fully for 5 seconds to flush out any trapped debris, then close it firmly and watch the spigot for 10 minutes.
Expect: Drip stops after the flush-and-reclose.
What it means: If it stops, sediment was the cause. If it continues, the seat or valve body is physically worn.
Next step: No further repair needed if resolved; otherwise move to a hose-cap stopgap and plan a valve swap.
DIY-eligible · DIY $0 · Pro $0 · 10 minutes
- #2
Warped plastic valve body
Most tanks ship with an inexpensive plastic drain valve. Repeated exposure to near-140 °F water softens and slightly deforms the plastic over years, so the internal gate or ball never seats flush again.
Extremely common on tanks over 3–5 years old with the original stock valve — it's a known weak point manufacturers use to cut cost.
Exact symptoms
- Steady, slow drip regardless of whether the tank was recently flushed
- Valve handle feels loose or doesn't turn with a firm, positive stop
- Visible warping, discoloration or hairline cracks in the plastic body
Self-test (10 min) — tools: Flashlight, Towel
Dry the valve fully, close it firmly, and visually inspect the plastic body under a flashlight for cracks or discoloration while watching for drips over 10 minutes.
Expect: No warping, no drip.
What it means: Visible warping plus a persistent drip means the valve body itself needs replacement.
Next step: Cap the valve as an immediate stopgap, then replace with a brass ball valve at the next opportunity.
DIY-eligible · DIY $8 hose cap now, $20–$35 for a brass replacement · Pro $150–$250 · 45 minutes
- #3
Loose connection between the valve and the tank
The drain valve threads into a tapping at the tank base. Vibration, a heavy-handed flush, or age can loosen that threaded connection independent of the valve's own internal seal.
Less common than a worn seat, but worth ruling out because it requires a different fix — re-sealing the threads rather than swapping the valve.
Exact symptoms
- Wetness appears at the base where the valve meets the tank, not at the spigot tip
- Drip continues even with a hose cap installed and the valve fully closed
- Valve wiggles slightly by hand
Self-test (10 min) — tools: Towel, Flashlight
With the hose cap installed and the valve closed, dry the area where the valve threads into the tank and watch that specific spot for 10 minutes.
Expect: Dry at the tank-to-valve thread junction.
What it means: Wetness there even with the cap on means the threaded connection itself needs to be redone, not just the valve.
Next step: Drain the tank below the valve level and have the connection re-sealed or the valve reinstalled with fresh thread sealant.
This repair requires draining the tank; near-tank-temperature water will be present at the base.
Professional repair · DIY Not recommended DIY · Pro $150–$275 · 1 hour
Symptom-to-cause table
Match what you can see, hear or smell to the cause it points at, and the safe next step for that reading.
Drip started within hours or days of flushing the tank
Likely cause: Sediment lodged in the seat after flushing
Who should handle it: Homeowner, then licensed plumber
Next step: No further repair needed if resolved; otherwise move to a hose-cap stopgap and plan a valve swap.
Steady, slow drip regardless of whether the tank was recently flushed
Likely cause: Warped plastic valve body
Who should handle it: Homeowner, then licensed plumber
Next step: Cap the valve as an immediate stopgap, then replace with a brass ball valve at the next opportunity.
Wetness appears at the base where the valve meets the tank, not at the spigot tip
Likely cause: Loose connection between the valve and the tank
Who should handle it: licensed plumber
Next step: Drain the tank below the valve level and have the connection re-sealed or the valve reinstalled with fresh thread sealant.
Ten-minute homeowner checklist
- Open the valve fully for 5 seconds to flush out any trapped debris, then close it firmly and watch the spigot for 10 minutes. (10 min · Bucket, Towel)
- Dry the valve fully, close it firmly, and visually inspect the plastic body under a flashlight for cracks or discoloration while watching for drips over 10 minutes. (10 min · Flashlight, Towel)
- With the hose cap installed and the valve closed, dry the area where the valve threads into the tank and watch that specific spot for 10 minutes. (10 min · Towel, Flashlight)This repair requires draining the tank; near-tank-temperature water will be present at the base.
Never open an electrical panel, relight a burner you can smell gas near, or drain a tank that is scalding hot. Stop and call a licensed plumber instead.
What this costs to fix
| Cause | DIY cost | Professional cost | Typical time | Who should repair |
|---|---|---|---|---|
| Sediment in the seat after flushing | $0 | $0 | 10 minutes | Homeowner |
| Warped plastic valve body | $8–$35 | $150–$250 | 45 minutes | Homeowner or licensed plumber |
| Loose valve-to-tank connection | Not recommended DIY | $150–$275 | 1 hour | Licensed plumber |
Sediment in the seat after flushing
DIY cost: $0
Professional cost: $0
Typical time: 10 minutes
Who should repair: Homeowner
Warped plastic valve body
DIY cost: $8–$35
Professional cost: $150–$250
Typical time: 45 minutes
Who should repair: Homeowner or licensed plumber
Loose valve-to-tank connection
DIY cost: Not recommended DIY
Professional cost: $150–$275
Typical time: 1 hour
Who should repair: Licensed plumber
Possible solutions you can do safely
- Open and firmly reclose the valve once to clear trapped sediment.
- Thread a brass garden-hose cap onto the outlet as an immediate, reliable stopgap.
- Replace a warped plastic valve with a quarter-turn brass ball valve once the tank is drained below that level.
- Flush the tank annually to reduce sediment that fouls the seat.
Fixes that usually waste money
- Repeated attempts to re-seat a visibly cracked or warped plastic valve — it will fail again.
- Plumber's putty or silicone around the spigot threads — it doesn't hold against internal water pressure.
- Full tank replacement for a drain-valve drip; this is a $20–$35 part in nearly every case.
When to Call a Professional
- The leak is at the tank-to-valve connection, not the spigot itself.
- You're not comfortable draining the tank to swap the valve.
- The drip continues even with a hose cap firmly installed.
- You notice rust-colored water suggesting a tank issue beyond the valve.
Related Home Problems
These water heater symptoms often show up with the one on this page.
why is my water heater leaking from the bottom
Points at the same part of the system — both problems involve the valve.
Leaks & Water Pressure Repair soon
why is my water heater leaking from the top
Points at the same part of the system — both problems involve the valve.
Leaks & Water Pressure Repair soon
why is my water heater not draining
Points at the same part of the system — both problems involve the sediment.
Efficiency, Costs & Maintenance Usually safe to investigate
why is my water heater draining so slow
Points at the same part of the system — both problems involve the hose.
Efficiency, Costs & Maintenance Usually safe to investigate
why is my water heater leaking
Points at the same part of the system — both problems involve the valve.
Leaks & Water Pressure Repair soon
Still not sure what you are hearing or seeing? Browse the leaks & water pressure guides or the full water heater guide index with repair-cost ranges.
Frequently Asked Questions
Can I just leave a hose cap on the drain valve permanently?
It's a safe, effective stopgap for weeks or even months, but it's not a permanent fix — if the cap ever loosens or is removed for maintenance, the valve will drip again. Plan to replace the valve with a brass ball type when convenient.
Why did my drain valve start leaking right after I flushed the tank?
Flushing stirs up sediment that had been sitting at the tank bottom, and a grain of it commonly lodges in the valve seat on the way out. Opening and firmly closing the valve once more usually clears it.
Should I replace a plastic drain valve even if it isn't leaking yet?
It's a reasonable preventive upgrade during a tank flush — brass ball valves cost only a few dollars more and rarely warp or fail the way stock plastic valves do over time.
Does a leaking drain valve mean my water heater is failing?
No. The drain valve is a separate, inexpensive component completely independent of the tank's structural condition. A leak here says nothing about the tank body itself.
Sources
- U.S. Department of Energy — Water Heater Maintenance — Draining and Flushing
- International Code Council — International Plumbing Code, Section 504
Published 2026-08-10 · Last reviewed 2026-08-10 · Reviewed by Why Is My Water Heater? editorial team · How we research