
why is my water heater leaking?
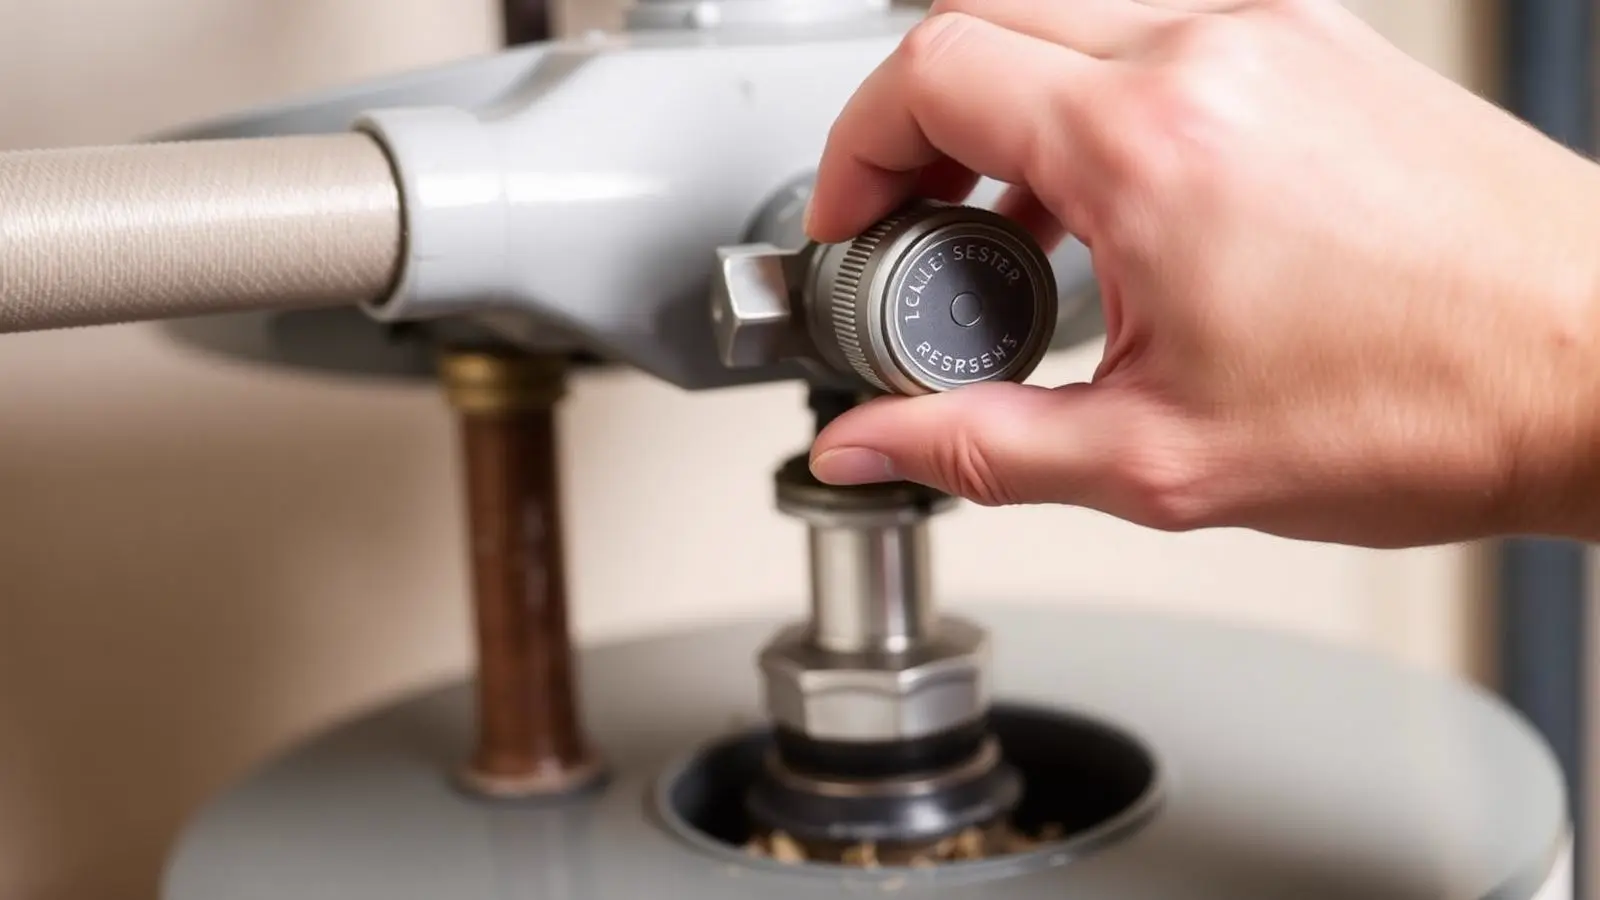
Causes, solutions and when to call a professional
Expert Answer
First, shut off power (breaker) or gas (control to OFF), then close the cold-water supply valve above the tank. Only after the unit is secured should you look for the source — a fitting, valve, or the tank itself.
How Serious Is This?
Usually Manageable
Monitor it and run the safe checks below before spending money.
Inspection Recommended
Have a professional look at it soon to prevent damage or failure.
This is the level for this problem: Repair soon.
Potentially Serious
Stop using the appliance and get professional help right away.
Safety warning
Do this in order: power/gas off first, then water supply off. Never touch a wet electric water heater or its wiring before killing power at the breaker.
Most Likely Causes
- 1Immediate step: identify power/gas type and shut it off
- 2Immediate step: close the cold-water supply valve
- 3Loose fitting or failed drain valve (repairable)
- 4Tank body failure (not repairable — plan for replacement)
Safe Homeowner Checks
Locate the breaker labeled for the water heater and switch it off, or turn the gas control knob to OFF.
Takes: 2 min · Tools: None
Locate the breaker labeled for the water heater and switch it off, or turn the gas control knob to OFF. Confirm no lights or pilot flame remain lit.
Expect: Unit is fully de-energized within two minutes.
What it means: This removes shock and ignition risk while you diagnose.
Next step: Move to closing the cold-water supply valve.
If the breaker panel itself is wet or near standing water, do not touch it — call an electrician immediately.
Find the shutoff valve on the cold inlet pipe above the tank and turn it clockwise until it stops.
Takes: 2 min · Tools: None, or pliers if the handle is seized
Find the shutoff valve on the cold inlet pipe above the tank and turn it clockwise until it stops.
Expect: Water flow to the tank stops within a minute.
What it means: Confirms you've isolated the tank from the house supply.
Next step: Open a nearby hot tap briefly to relieve residual pressure, then begin source diagnosis.
With water off, dry all fittings and the drain valve, then briefly reopen the supply valve for 30 seconds while watching each point.
Takes: 5 min · Tools: Towel, Flashlight
With water off, dry all fittings and the drain valve, then briefly reopen the supply valve for 30 seconds while watching each point.
Expect: One specific fitting or the drain valve visibly wets first.
What it means: Identifies the exact repairable point.
Next step: Tighten or cap the fitting, then schedule a permanent repair.
With supply closed and fittings confirmed dry, watch the tank base for 10 minutes for any renewed dampness.
Takes: 10 min · Tools: Towel, Flashlight
With supply closed and fittings confirmed dry, watch the tank base for 10 minutes for any renewed dampness.
Expect: A sound tank stays dry with the supply closed.
What it means: Continued dampness confirms tank perforation.
Next step: Leave the unit shut off and arrange replacement — do not refill or restart it.
Do not restore power or gas to a perforated tank; refilling it risks a sudden larger release.
When you find an active leak, the instinct is to start diagnosing immediately — but the first ten minutes should be about containment and safety, not causes. This page walks through the shutoff sequence first, then how to figure out what happened.
Every likely cause, ranked
- #1
Immediate step: identify power/gas type and shut it off
Most common causeNot a failure cause, but the mandatory first action: electric units risk shock through standing water, and gas units risk ignition if the burner area is soaked.
Every leak scenario requires this step before anything else, regardless of the ultimate cause.
Exact symptoms
- Active dripping, pooling, or spraying water visible right now
- Unit is electric (240V element heater) or gas (standing pilot or intermittent ignition)
Self-test (2 min) — tools: None
Locate the breaker labeled for the water heater and switch it off, or turn the gas control knob to OFF. Confirm no lights or pilot flame remain lit.
Expect: Unit is fully de-energized within two minutes.
What it means: This removes shock and ignition risk while you diagnose.
Next step: Move to closing the cold-water supply valve.
If the breaker panel itself is wet or near standing water, do not touch it — call an electrician immediately.
DIY-eligible · DIY $0 · Pro $0 · 2 minutes
- #2
Immediate step: close the cold-water supply valve
The cold-water shutoff valve, usually a gate or ball valve on the pipe entering the top of the tank, stops new water from feeding the leak once turned.
This step stops the flooding regardless of what the underlying cause turns out to be.
Exact symptoms
- Water continues to flow or pool even after power/gas is off
Self-test (2 min) — tools: None, or pliers if the handle is seized
Find the shutoff valve on the cold inlet pipe above the tank and turn it clockwise until it stops.
Expect: Water flow to the tank stops within a minute.
What it means: Confirms you've isolated the tank from the house supply.
Next step: Open a nearby hot tap briefly to relieve residual pressure, then begin source diagnosis.
DIY-eligible · DIY $0 · Pro $0 · 2 minutes
- #3
Loose fitting or failed drain valve (repairable)
Once secured, the most common source found is a loosened union, corroded flex connector, or a warped plastic drain valve — none of which require tank replacement.
These account for the majority of leaks that turn out fixable same-day for under $300.
Exact symptoms
- Leak stopped or slowed dramatically once the water supply was closed
- Wet trail traces to a specific fitting or the drain spigot, not the tank body
Self-test (5 min) — tools: Towel, Flashlight
With water off, dry all fittings and the drain valve, then briefly reopen the supply valve for 30 seconds while watching each point.
Expect: One specific fitting or the drain valve visibly wets first.
What it means: Identifies the exact repairable point.
Next step: Tighten or cap the fitting, then schedule a permanent repair.
DIY-eligible · DIY $12–$45 · Pro $150–$300 · 30–60 minutes
- #4
Tank body failure (not repairable — plan for replacement)
If no fitting or valve tests as the source and water still weeps from the tank body itself after isolation, internal corrosion has perforated the steel shell.
On units over eight years old with no other identified leak point, this is the conclusion by elimination.
Exact symptoms
- Water still appears at the tank base even with supply closed and fittings dry
- Rust-colored water
- Unit is 8+ years old
Self-test (10 min) — tools: Towel, Flashlight
With supply closed and fittings confirmed dry, watch the tank base for 10 minutes for any renewed dampness.
Expect: A sound tank stays dry with the supply closed.
What it means: Continued dampness confirms tank perforation.
Next step: Leave the unit shut off and arrange replacement — do not refill or restart it.
Do not restore power or gas to a perforated tank; refilling it risks a sudden larger release.
Professional repair · DIY Not repairable · Pro $1,200–$2,500 installed replacement · 3–5 hours
Symptom-to-cause table
Match what you can see, hear or smell to the cause it points at, and the safe next step for that reading.
Active dripping, pooling, or spraying water visible right now
Likely cause: Immediate step: identify power/gas type and shut it off
Who should handle it: Homeowner, then licensed plumber
Next step: Move to closing the cold-water supply valve.
Water continues to flow or pool even after power/gas is off
Likely cause: Immediate step: close the cold-water supply valve
Who should handle it: Homeowner, then licensed plumber
Next step: Open a nearby hot tap briefly to relieve residual pressure, then begin source diagnosis.
Leak stopped or slowed dramatically once the water supply was closed
Likely cause: Loose fitting or failed drain valve (repairable)
Who should handle it: Homeowner, then licensed plumber
Next step: Tighten or cap the fitting, then schedule a permanent repair.
Water still appears at the tank base even with supply closed and fittings dry
Likely cause: Tank body failure (not repairable — plan for replacement)
Who should handle it: licensed plumber
Next step: Leave the unit shut off and arrange replacement — do not refill or restart it.
Ten-minute homeowner checklist
- Locate the breaker labeled for the water heater and switch it off, or turn the gas control knob to OFF. (2 min · None)If the breaker panel itself is wet or near standing water, do not touch it — call an electrician immediately.
- Find the shutoff valve on the cold inlet pipe above the tank and turn it clockwise until it stops. (2 min · None, or pliers if the handle is seized)
- With water off, dry all fittings and the drain valve, then briefly reopen the supply valve for 30 seconds while watching each point. (5 min · Towel, Flashlight)
- With supply closed and fittings confirmed dry, watch the tank base for 10 minutes for any renewed dampness. (10 min · Towel, Flashlight)Do not restore power or gas to a perforated tank; refilling it risks a sudden larger release.
Never open an electrical panel, relight a burner you can smell gas near, or drain a tank that is scalding hot. Stop and call a licensed plumber instead.
What this costs to fix
| Cause | DIY cost | Professional cost | Typical time | Who should repair |
|---|---|---|---|---|
| Emergency power/gas shutoff | $0 | $0 | 2 minutes | Homeowner |
| Emergency water supply shutoff | $0 | $0 | 2 minutes | Homeowner |
| Loose fitting or failed drain valve | $12–$45 | $150–$300 | 30–60 minutes | Homeowner or licensed plumber |
| Tank body failure | Not repairable | $1,200–$2,500 | 3–5 hours | Licensed plumber |
Emergency power/gas shutoff
DIY cost: $0
Professional cost: $0
Typical time: 2 minutes
Who should repair: Homeowner
Emergency water supply shutoff
DIY cost: $0
Professional cost: $0
Typical time: 2 minutes
Who should repair: Homeowner
Loose fitting or failed drain valve
DIY cost: $12–$45
Professional cost: $150–$300
Typical time: 30–60 minutes
Who should repair: Homeowner or licensed plumber
Tank body failure
DIY cost: Not repairable
Professional cost: $1,200–$2,500
Typical time: 3–5 hours
Who should repair: Licensed plumber
Possible solutions you can do safely
- Shut off power or gas immediately, then close the cold-water supply valve.
- Open a hot tap to relieve pressure before inspecting for the source.
- Cap a leaking drain valve with a brass hose cap as a same-day stopgap.
- Tighten a loose union nut a quarter turn with two wrenches.
Fixes that usually waste money
- Calling an emergency plumber before shutting off power/gas and water yourself — most leaks can wait until morning once contained.
- Buying a whole new heater sight-unseen before isolating whether it's a $20 fitting.
- Running a wet-vac on standing water without cutting power first.
When to Call a Professional
- Water keeps flowing even after the cold-water supply valve is fully closed.
- The leak traces to the tank body itself rather than a fitting or valve.
- You smell gas, or a gas unit's burner compartment is soaked.
- Standing water is near a live electrical panel or outlet.
Related Home Problems
These water heater symptoms often show up with the one on this page.
why is my water heater leaking
Points at the same part of the system — both problems involve the valve.
Leaks & Water Pressure Repair soon
why is my water heater leaking water
Points at the same part of the system — both problems involve the fittings.
Leaks & Water Pressure Repair soon
why is my water heater leaking from the bottom
Points at the same part of the system — both problems involve the dripping.
Leaks & Water Pressure Repair soon
why is my water heater leaking at the bottom
Points at the same part of the system — both problems involve the step.
Leaks & Water Pressure Repair soon
why is my water heater relief valve leaking
Points at the same part of the system — both problems involve the after.
Leaks & Water Pressure Repair soon
Still not sure what you are hearing or seeing? Browse the leaks & water pressure guides or the full water heater guide index with repair-cost ranges.
Frequently Asked Questions
What is the very first thing I should do if my water heater is leaking?
Turn off power at the breaker (electric) or set the gas control to OFF (gas), then close the cold-water shutoff valve on the pipe entering the top of the tank. Do this before trying to identify the source.
Can I keep using hot water while my heater is leaking?
No. Once you've found an active leak, shut the unit down completely until the source is identified. Continuing to run it risks worsening a fitting failure or, in the case of tank corrosion, a sudden larger release of the tank's full contents.
How much water can a leaking water heater release?
A typical residential tank holds 40 to 80 gallons. A slow fitting leak may release only a cup over hours, but an unattended tank failure can empty the entire tank in minutes once the perforation widens.
Do I need to call a plumber immediately, or can it wait?
If you've successfully shut off power/gas and the water supply, and the leak has stopped, a repairable fitting or valve issue can usually wait for a scheduled appointment. Call immediately if water keeps flowing after shutoff, you smell gas, or the tank body itself is the source.
Sources
- International Code Council — International Plumbing Code, Section 606 — Shutoff Valves
- Occupational Safety and Health Administration (OSHA) — Electrical Safety — Water and Electricity Hazards
Published 2026-08-10 · Last reviewed 2026-08-10 · Reviewed by Why Is My Water Heater? editorial team · How we research